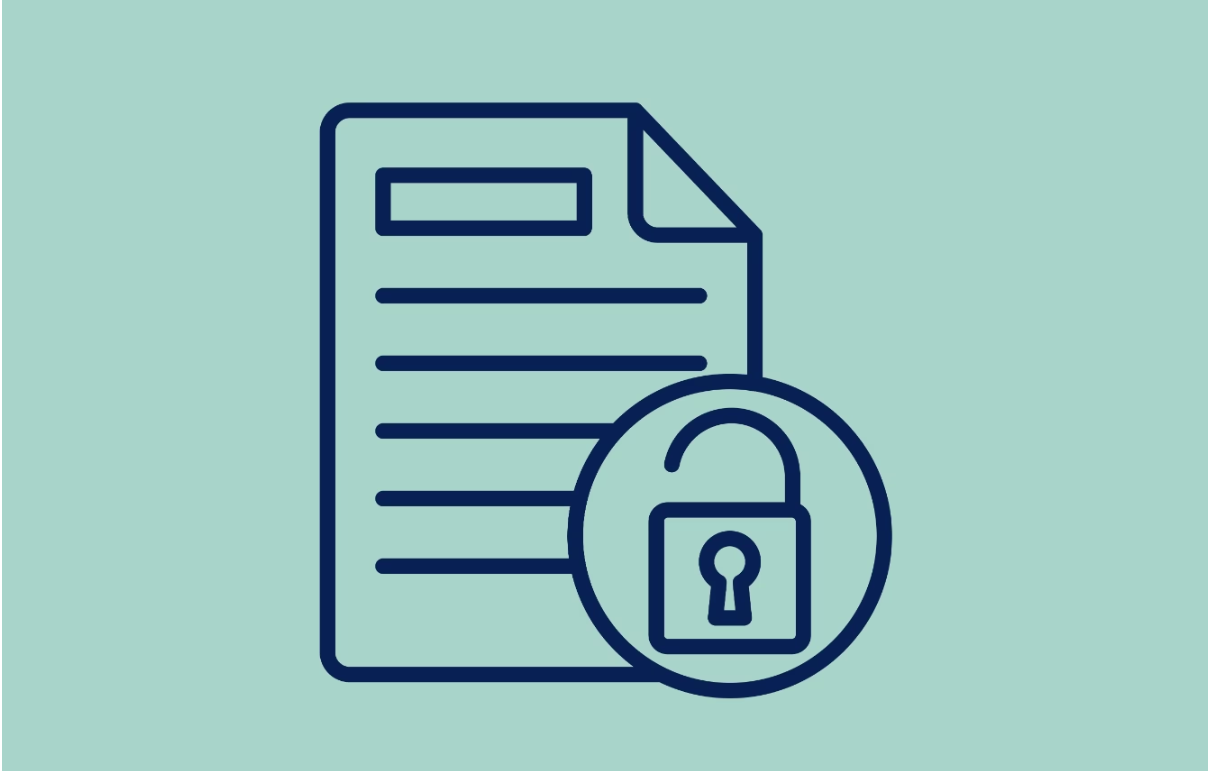
Over my two decades working with Microsoft technologies, one topic consistently crops up in training sessions and client discussions: SharePoint permissions. It’s something that can feel daunting initially, but trust me, understanding the fundamentals is key to building a secure and well-organised Microsoft 365 environment. Get it wrong, and you can quickly find yourself in a tangled web of who can see and do what! So, let’s break down the essentials of SharePoint permissions.
The Building Blocks: Understanding Permission Levels
At its heart, SharePoint permissions dictate what actions users can perform within your sites. Think of it as the gatekeeper to your digital workspace. These permissions are applied at different levels, giving you granular control:
- Site Level: This controls who can access the entire SharePoint site and what they can do within it.
- Library or List Level: Here, you manage access to specific document libraries or lists of information. For example, you might have a HR documents library accessible only to certain team members.
- Folder Level: Need to restrict access within a library? Folder-level permissions allow you to do just that. I’ve used this countless times to create private project areas within a shared team library.
- Item (Document) Level: For the ultimate control, you can even set permissions on individual files or list items. While powerful, I’ve learned that relying too heavily on this can make management a headache down the track.
Out of the box, SharePoint offers a few handy permission groups:
- Owners: They have full control – they can manage the site, its settings, and all content. Think of them as the administrators.
- Members: Typically have edit permissions. They can add, edit, and delete content within the site, depending on where they’re assigned.
- Visitors: These folks have read-only access. They can view content but can’t make any changes.
While you can create custom permission levels, my experience suggests that sticking with these default groups as much as possible makes ongoing management much smoother. Less complexity equals fewer headaches!
Inheritance: How Permissions Flow (and When to Stop It)
A fundamental concept to grasp is permission inheritance. By default, permissions flow downwards:
- A document library inherits the permissions set on the site it resides in.
- A folder within that library inherits the library’s permissions.
- Individual documents or items within a folder inherit the folder’s permissions.
This inheritance model simplifies administration significantly. However, there are times when you need to break this chain and assign unique permissions. For instance, I recall a project team needing a confidential sub-folder within their general project document library. By breaking inheritance on that specific folder, we could grant access only to the core team members.
While breaking inheritance offers flexibility, be cautious not to overdo it. Too many breaks can lead to a fragmented and confusing permissions landscape. It’s like trying to follow a maze blindfolded!
Sharing Links: Choosing the Right Path
When it comes to collaboration, SharePoint offers different ways to share content. Over the years, I’ve found that using Copy Link is generally the more robust and manageable approach compared to the Share button for internal collaboration. Here’s why:
- Copy Link: This generates a direct link to the file or folder, and crucially, it respects the existing permissions already in place. It’s a clean and efficient way to point colleagues to content they already have access to.
- Share: This option allows you to directly grant specific permissions to individuals or groups, often overriding the existing permissions. While useful for external sharing or temporary access, I’ve seen it lead to unnecessary unique permissions and confusion internally if not carefully managed.
My rule of thumb? Use Copy Link for most internal sharing scenarios. Reserve the Share button for those specific instances where you need to grant new or different permissions.
Laying the Groundwork: Best Practices for Permission Management
Through years of troubleshooting and training, I’ve distilled some key best practices for managing SharePoint permissions effectively:
- Keep it Simple: Aim to assign permissions at the site or library level whenever you can. This minimises complexity and makes it easier to see who has access to what.
- Plan Your Structure with Security in Mind: Think about who needs access to which types of information before you build your site structure. Grouping related content with similar permission needs from the outset saves a lot of time and headaches later.
- Limit Folder and Item-Level Permissions: While they offer granular control, try to avoid relying on them too much. It can quickly become difficult to track and manage.
- Stick to the Defaults: The default Owners, Members, and Visitors groups are usually sufficient for most scenarios. Resist the urge to create a multitude of custom permission levels unless absolutely necessary.
- Regularly Review Access: Make it a habit to periodically check who has access to your sites and libraries. People change roles, projects end, and access needs to be updated accordingly.
- Document Changes: If you do break inheritance or assign custom permissions, keep a record of it. This will be invaluable when you need to understand why certain permissions are in place.
- Educate Your Users: Ensure your team understands the basics of SharePoint permissions and the importance of using the correct sharing methods. A well-informed user base is your first line of defence.
Looking Ahead: Integrating with Microsoft 365 Security
SharePoint doesn’t exist in isolation. It integrates with broader Microsoft 365 security features that are crucial for managing permissions at scale, especially in larger organisations:
- Entra ID (formerly Azure AD) Role-Based Permissions: This allows you to manage access to SharePoint and other Microsoft 365 services through centrally defined roles.
- Microsoft 365 Groups: These groups streamline permissions management by connecting SharePoint sites with Teams, Outlook, Planner, and other apps. Assigning permissions to a group automatically grants access to all connected resources. I’ve found this incredibly useful for managing team-based access.
- Active Directory (AD): For organisations with hybrid or on-premises environments, AD remains a key component in managing user identities and permissions.
Understanding how these pieces fit together is essential for robust permissions management.
Getting Your Hands Dirty: A Quick Guide to Managing Permissions
Here’s a basic rundown of how to manage permissions at different levels:
- Site Level:
- Go to Site Settings (usually a gear icon in the top right).
- Under Users and Permissions, select Site Permissions.
- Here, you can add or remove users, assign them to existing groups, or create custom permission levels if absolutely needed.
- Library or List Level:
- Open the specific library or list.
- Click the Settings gear and choose Library Settings or List Settings.
- Under Permissions and Management, select Permissions for this document library (or list).
- You’ll see if the library is inheriting permissions from the site or has unique permissions. You can then manage the assigned groups and users.
- Folder and Item Level:
- Select the folder or file you want to manage.
- Click the ellipsis (…) and choose Manage Access.
- Here, you can see who currently has access, adjust sharing settings, stop inheriting permissions from the parent, or grant specific users direct access.
Final Thoughts
Mastering SharePoint permissions is an ongoing journey, but by understanding these foundational concepts and adopting best practices, you’ll be well on your way to creating a secure and efficient Microsoft 365 environment. Remember, keeping it simple and thinking about your information architecture from a security perspective will save you countless headaches down the line. Trust me, I’ve seen the alternative, and it’s not pretty!